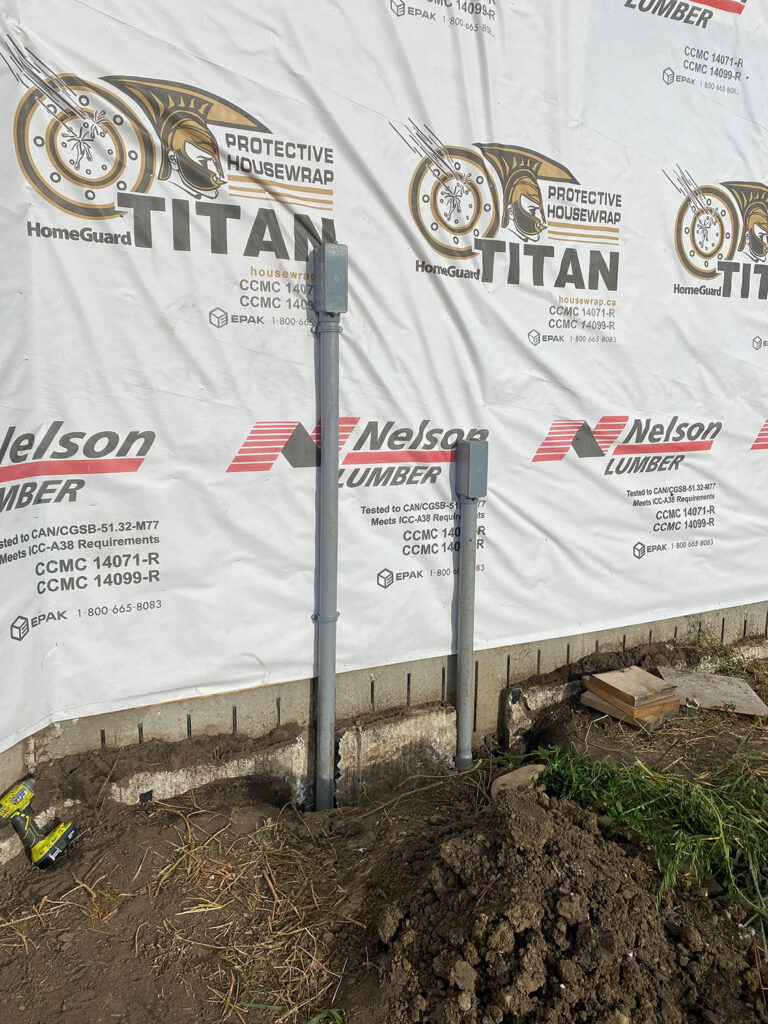
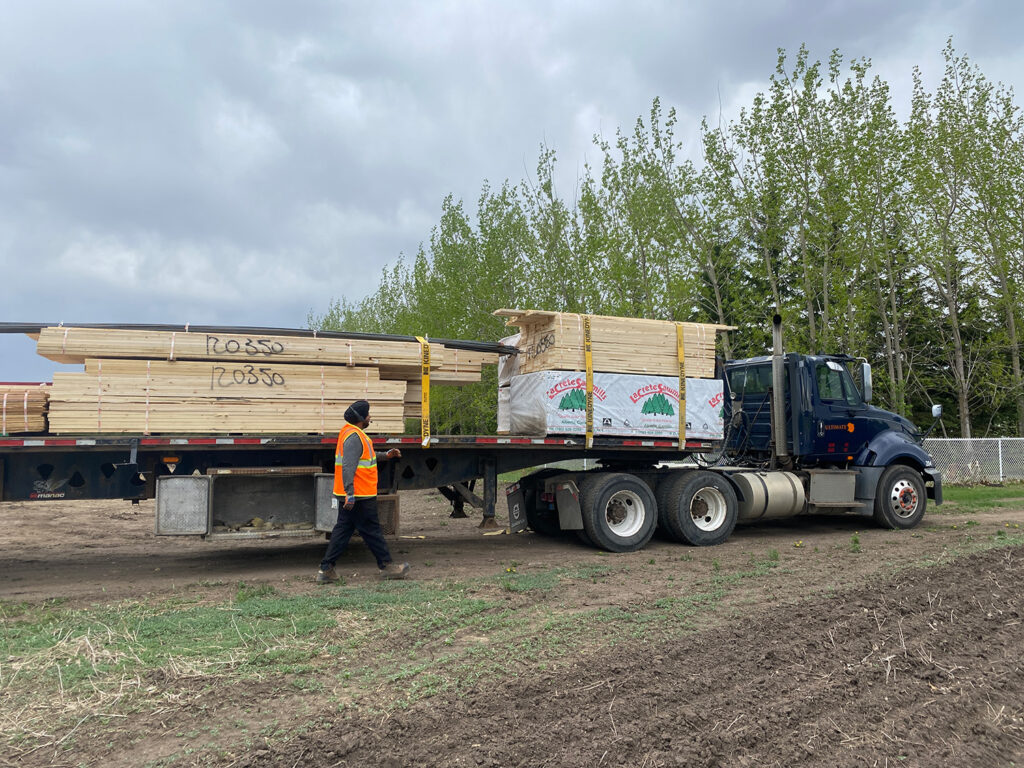
Finally, it was time to start with the actual construction of the building. First, we had to get a large shipment from Nelson Lumber.
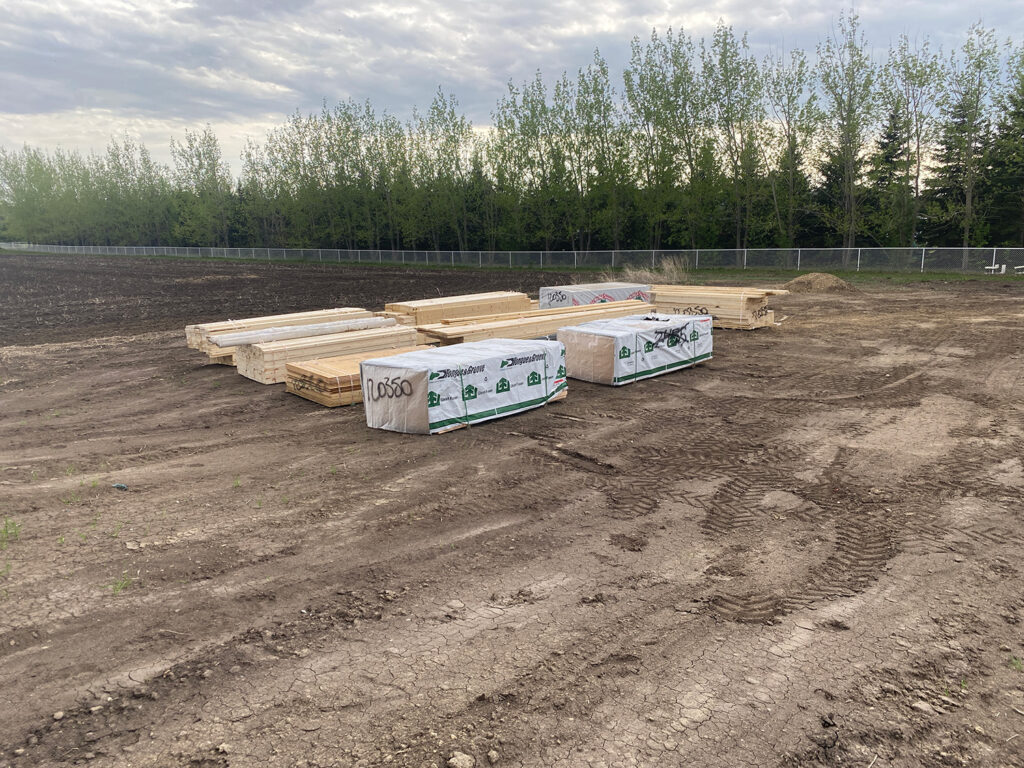
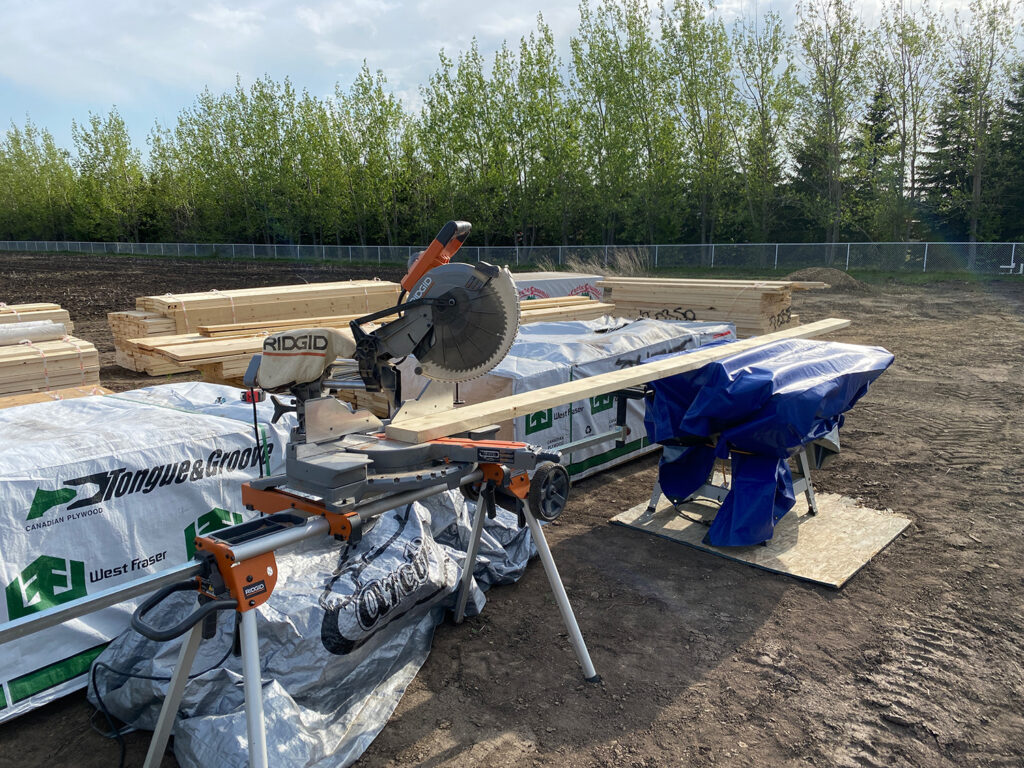
I set myself up with a chop saw and table saw next to the pile of lumber. This would turn out to be a very rainy year – by far the rainiest on record, with more than triple the amount we normally get. In June alone, we received 260 mm of rain, more than we typically get in an entire year. So for much of the summer, the typical situation was working in the mud, while working for a few hours at a time between rain storms, covering and uncovering tarps on the saws hundreds of times.
Finally, the first wall was done and the actual construction of the building began!
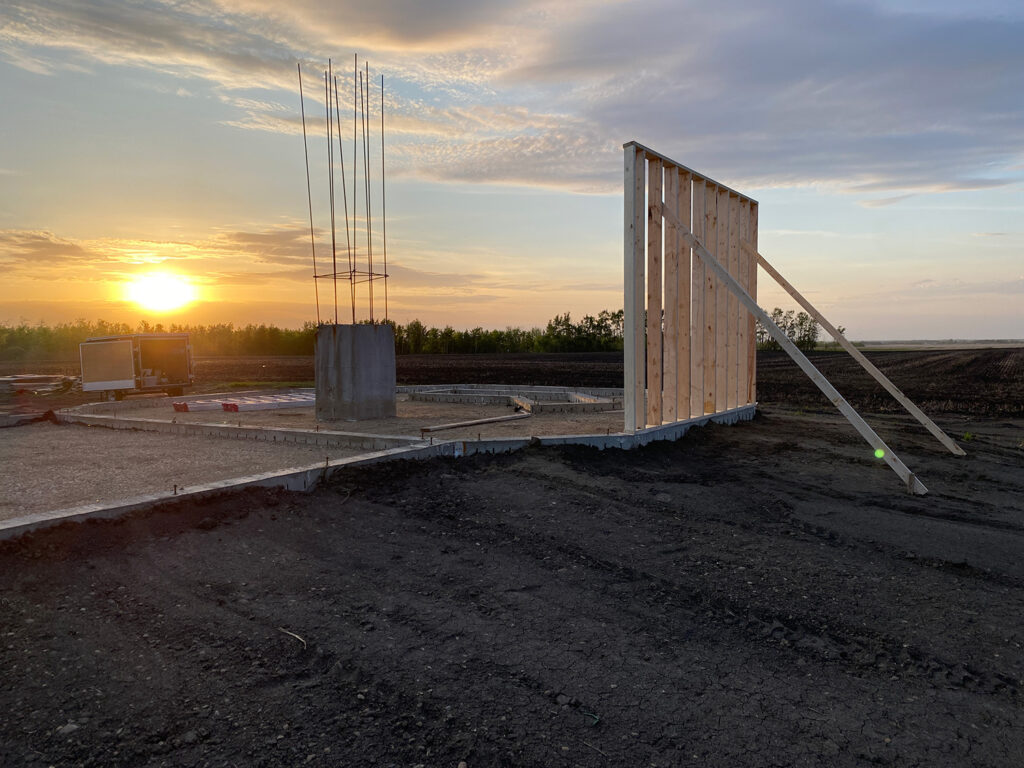
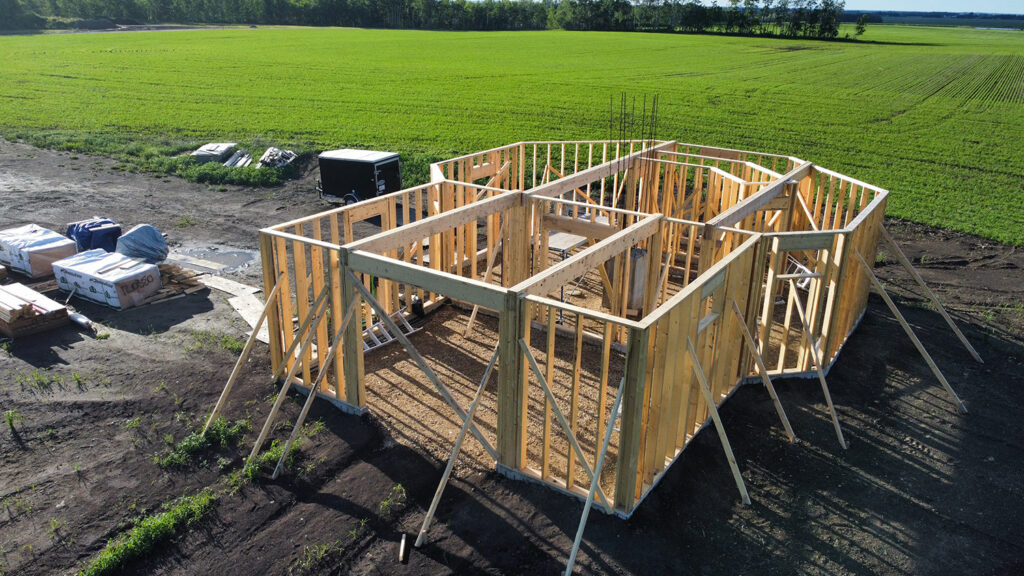
Construction continued on the framing of the exterior walls, and the internal walls surrounding the stairwell which would lead to the second floor:
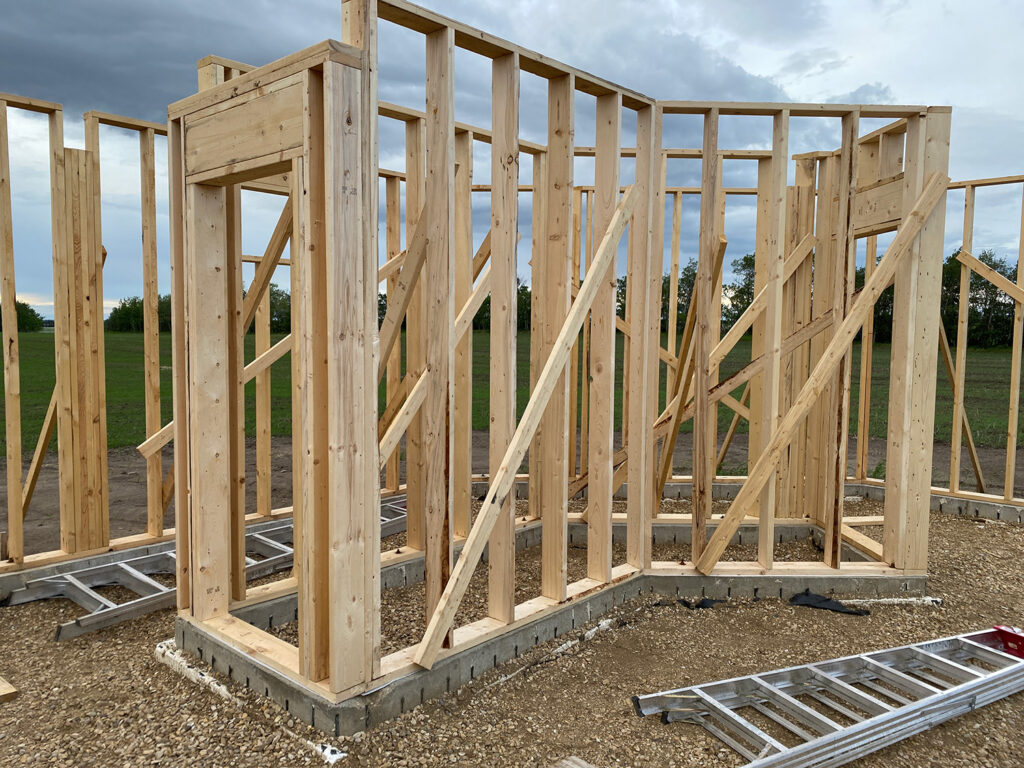
Progress continued around the octagon, and into the rectangular portion of the observatory.
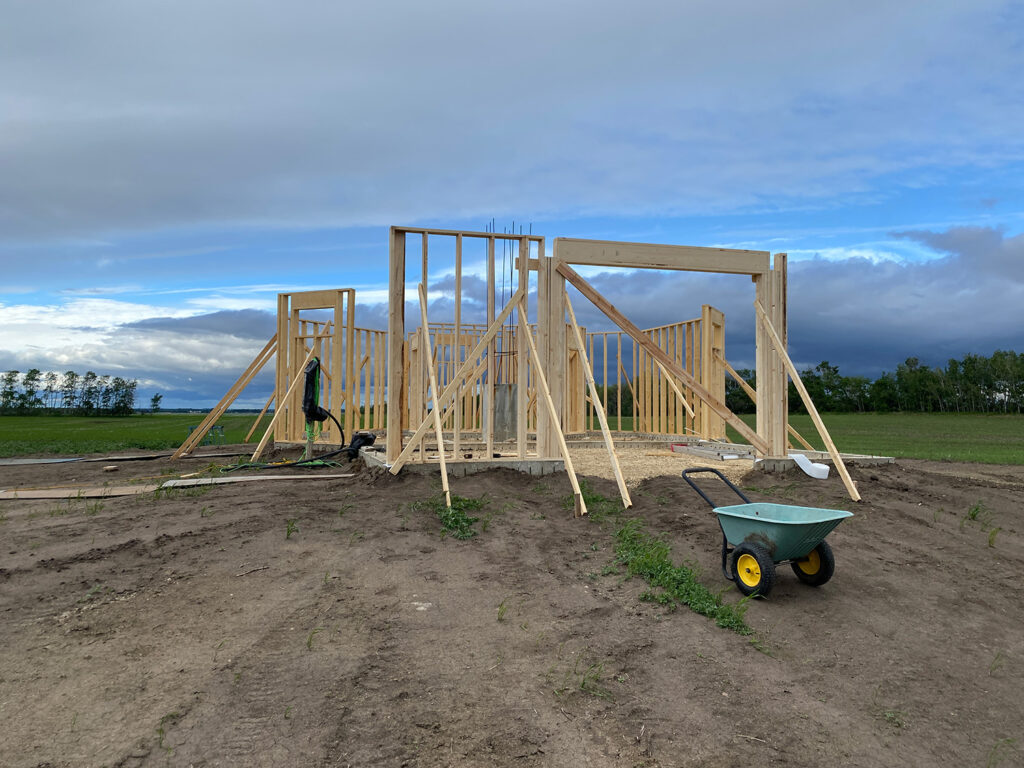
Eventually, the exterior wall framing was complete
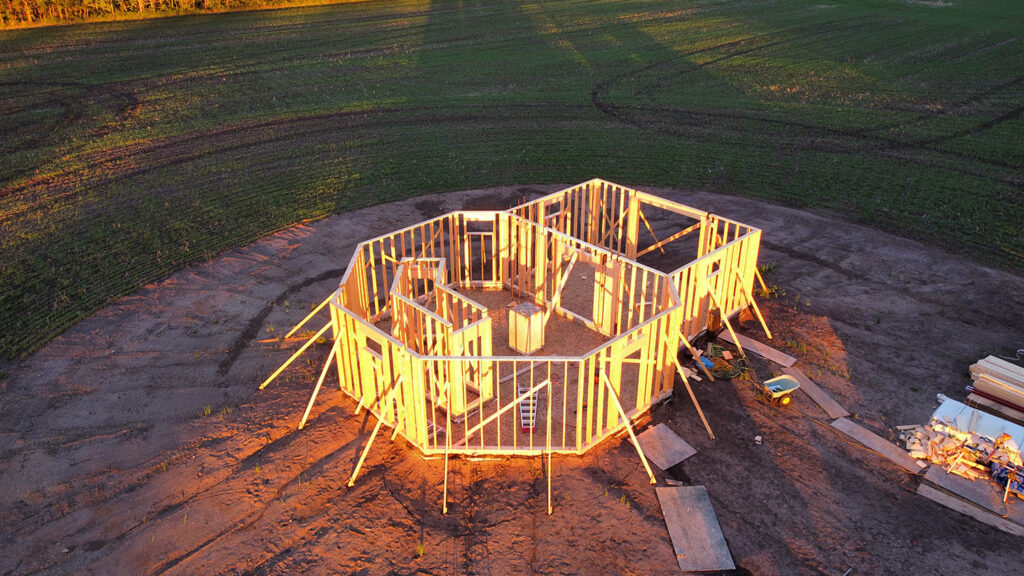
We then put in the beams
And then started on the floor joists
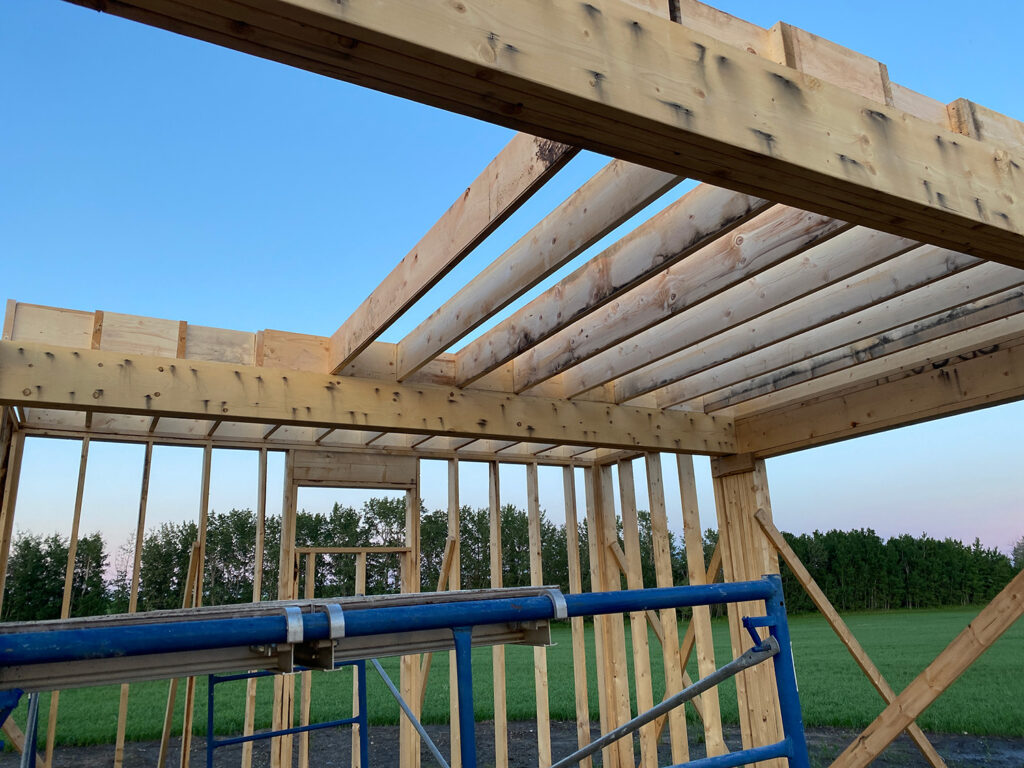
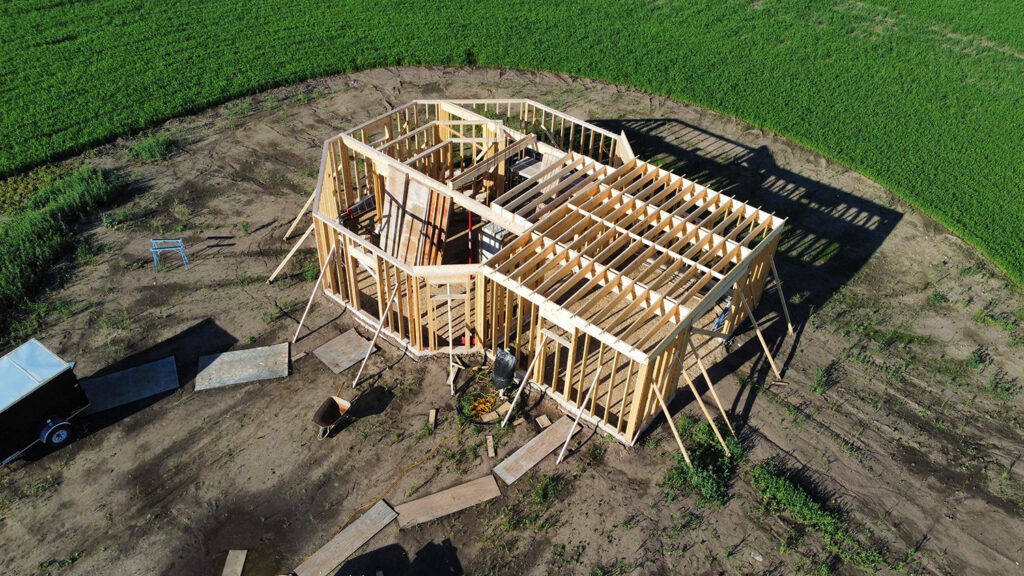
The joists in the rectangle were finished, then we started on the octagon. If you look closely, you might also see the “wedges” on top of the joists of the rectangular area that create a 1:45 slope for the roof area.
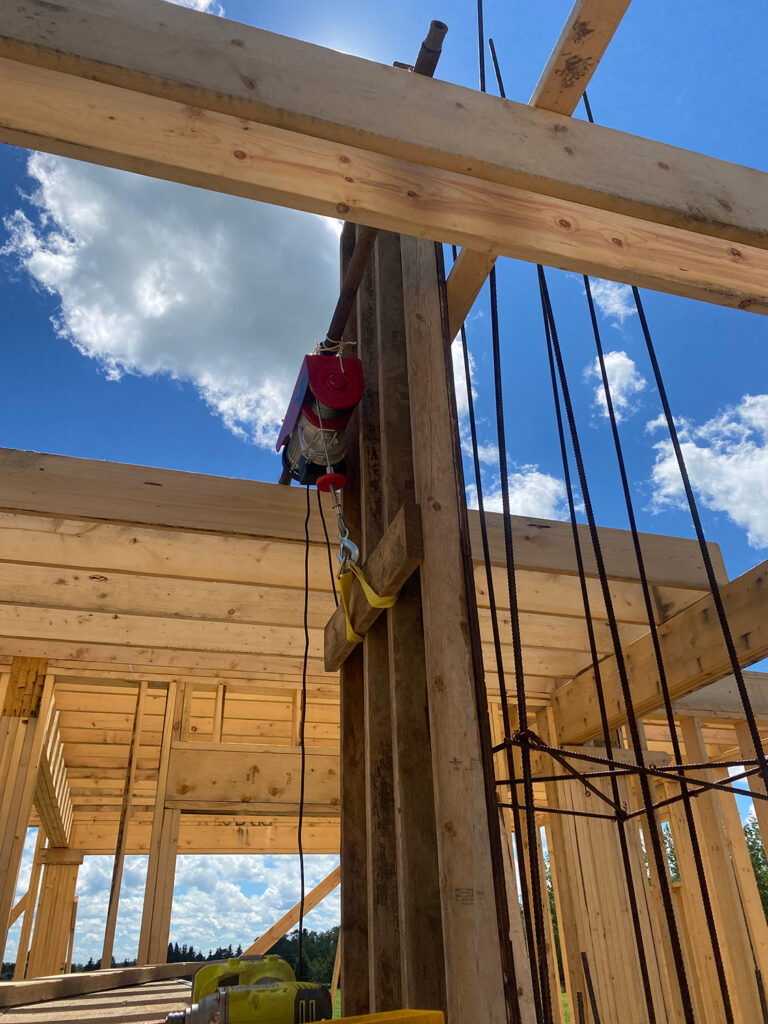
We then started preparing the forms for the next 10 vertical feet of the telescope pier. The form assemblies were quite heavy, so I used a hoist to lift them into place.
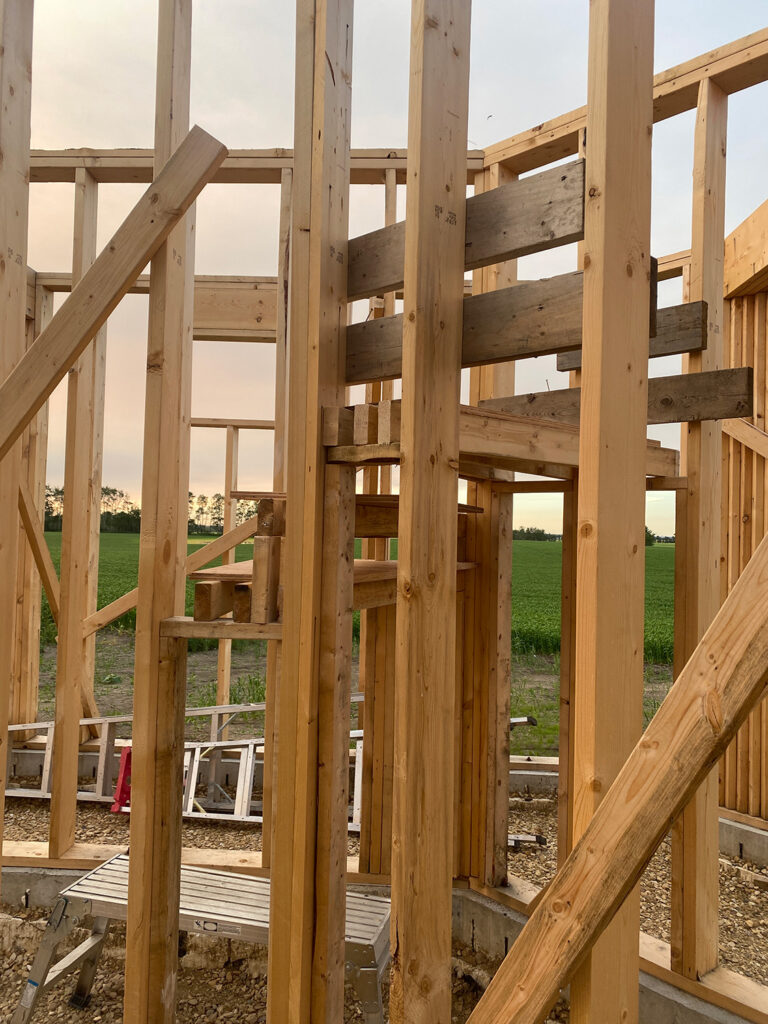
Next, I started construction of the staircase leading to the second floor. To keep everything code compliant, the stairs are a combination of straight stairs and tapered stairs rotating 45° on their way to the top. This is part of the section of the tapered stairs, halfway up the flight.
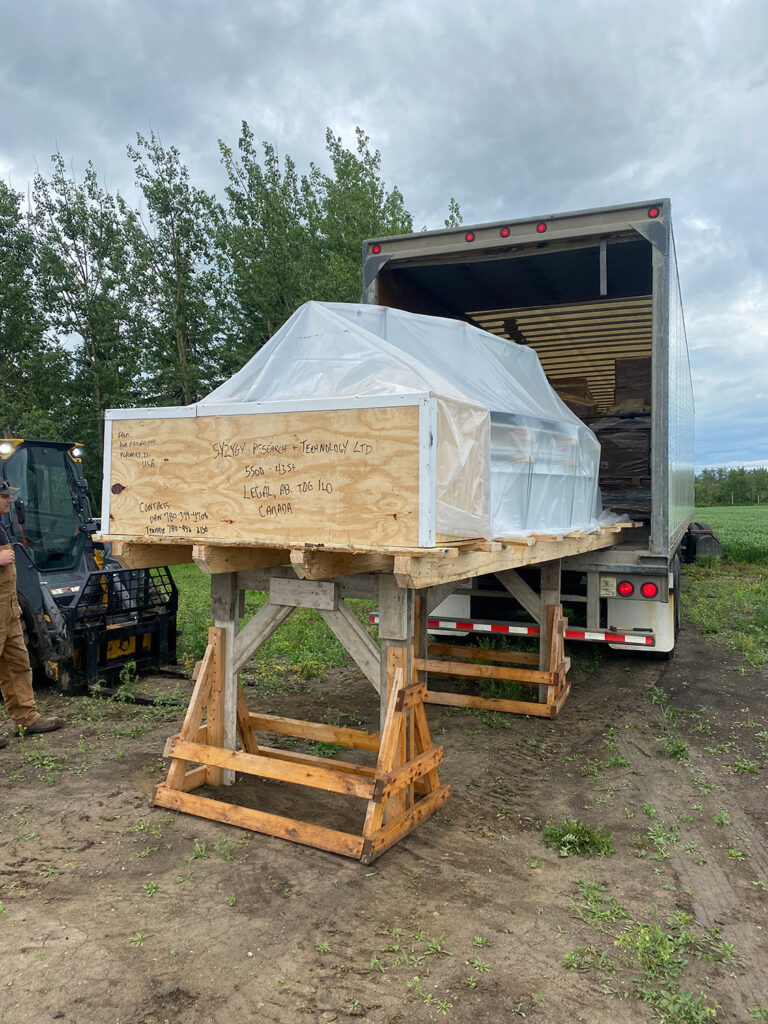
About that time, our 14.5′ diameter dome from Ash Dome arrived. Because of the current state of politics, there is a tariff “war” between the US and Canada, and Canada was imposing a 25% counter-tariff on steel products imported from the US. The dome was actually ready for us late last year, but we decided to hold off throughout the winter to see if the tariffs might be removed. They weren’t, and so we had to eventually “bite the bullet” and import the dome anyway. As it turned out, that was a good move – since then, the counter-tariffs have risen to 50%. They’ll probably eventually come down, but we couldn’t wait indefinitely.
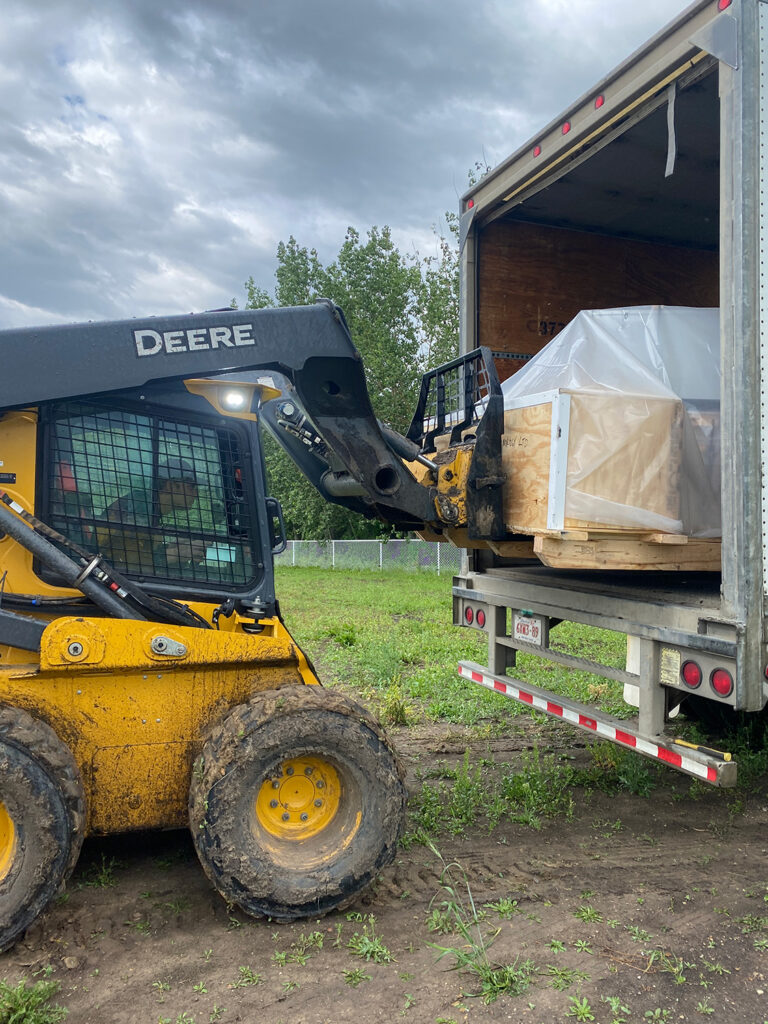
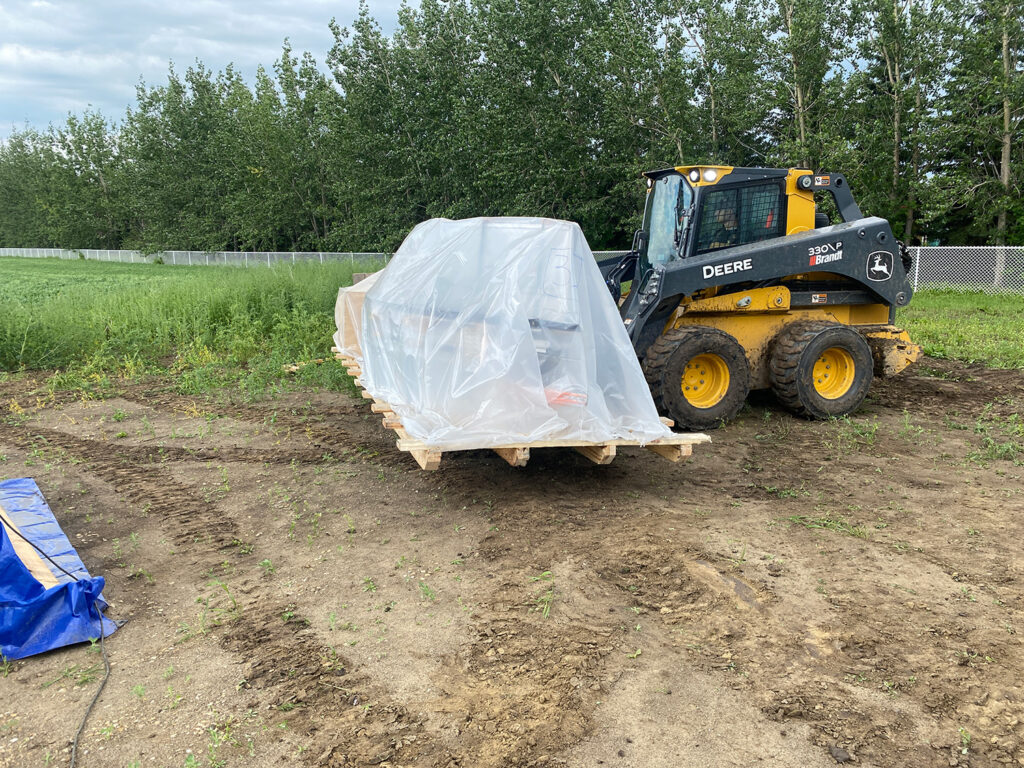
Louis Cyr was an incredible help in bringing over his skid steer/forklift to offload the crate from the truck. The crate was about 2600 pounds – pretty much right at the limit of what the skid steer could handle, but Louis got it down and off the truck without issue:
Then, it was back to work on the stairs
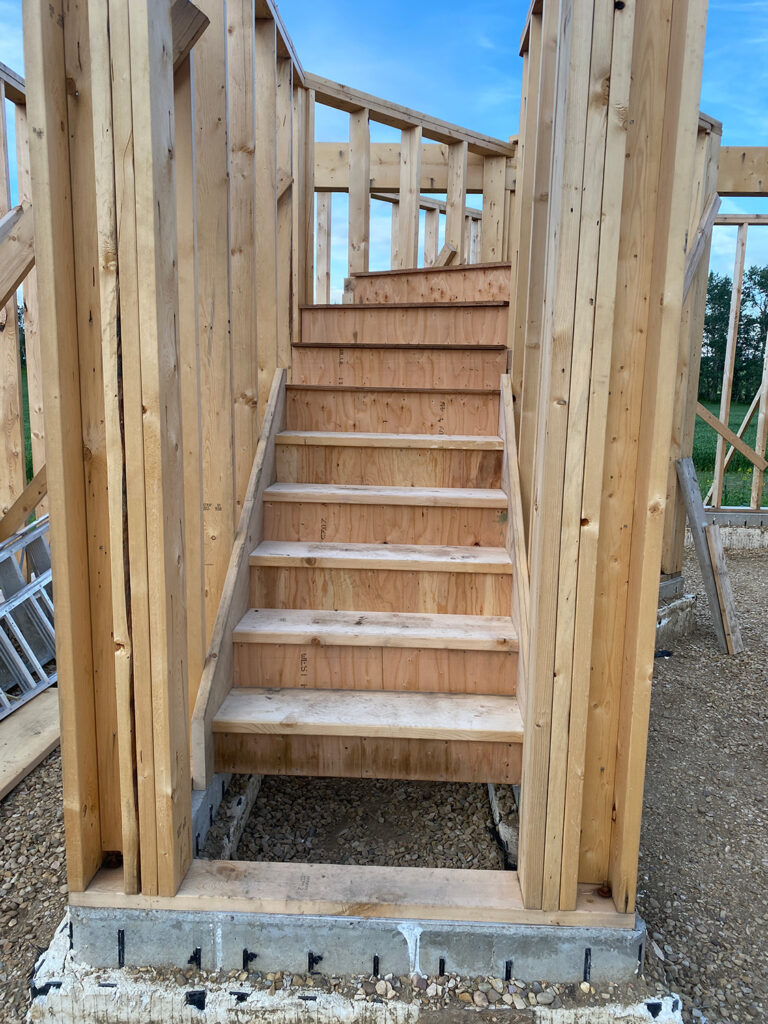
The joists, telescope pier forms, and stairs were completed. Because of the size of the telescope pier forms, the joists couldn’t be moved as close to the column as they eventually would be, so the closest joists (as well as the cross joists on the east and west sides of the pier) would be put in place after the telescope pier forms were removed.
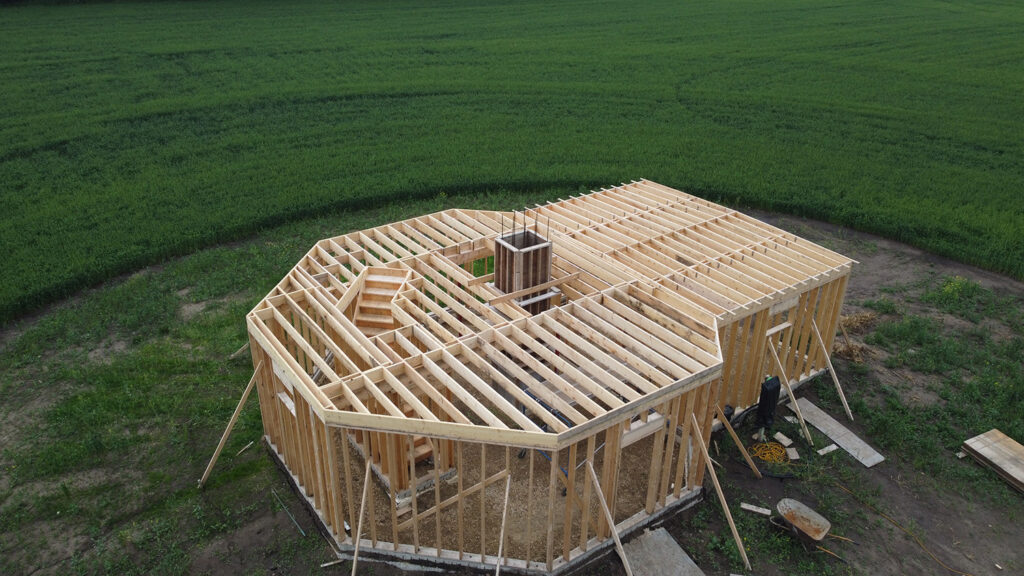
I built a temporary floor near the telescope pier forms so we could work from that while pouring the pier.
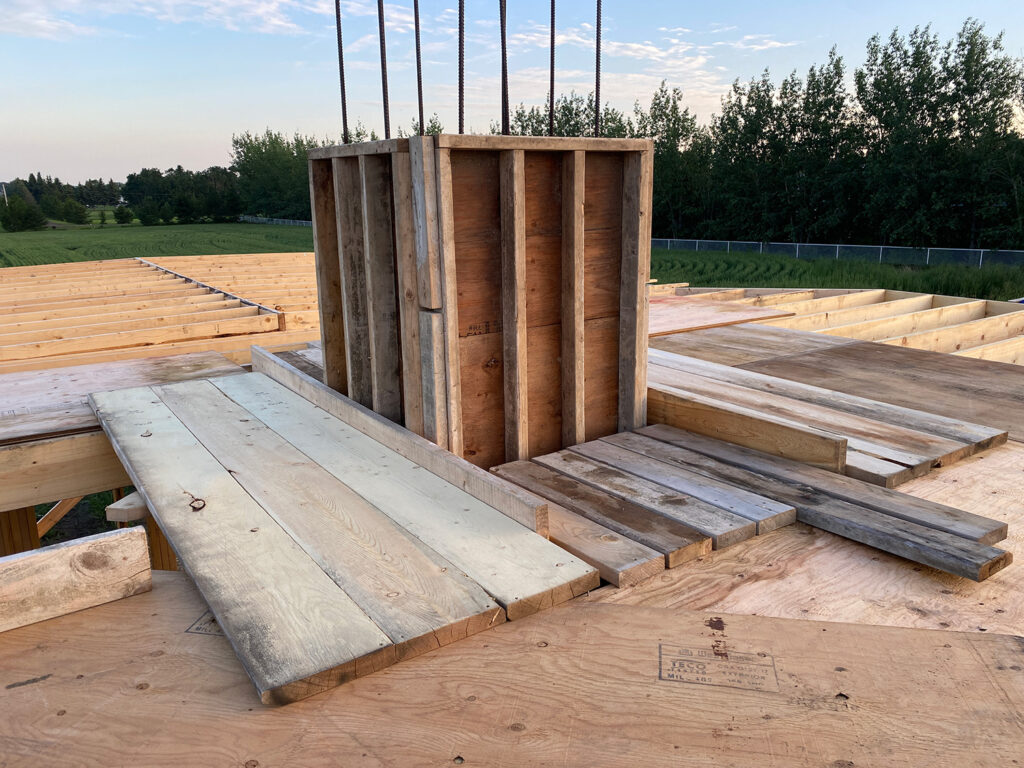
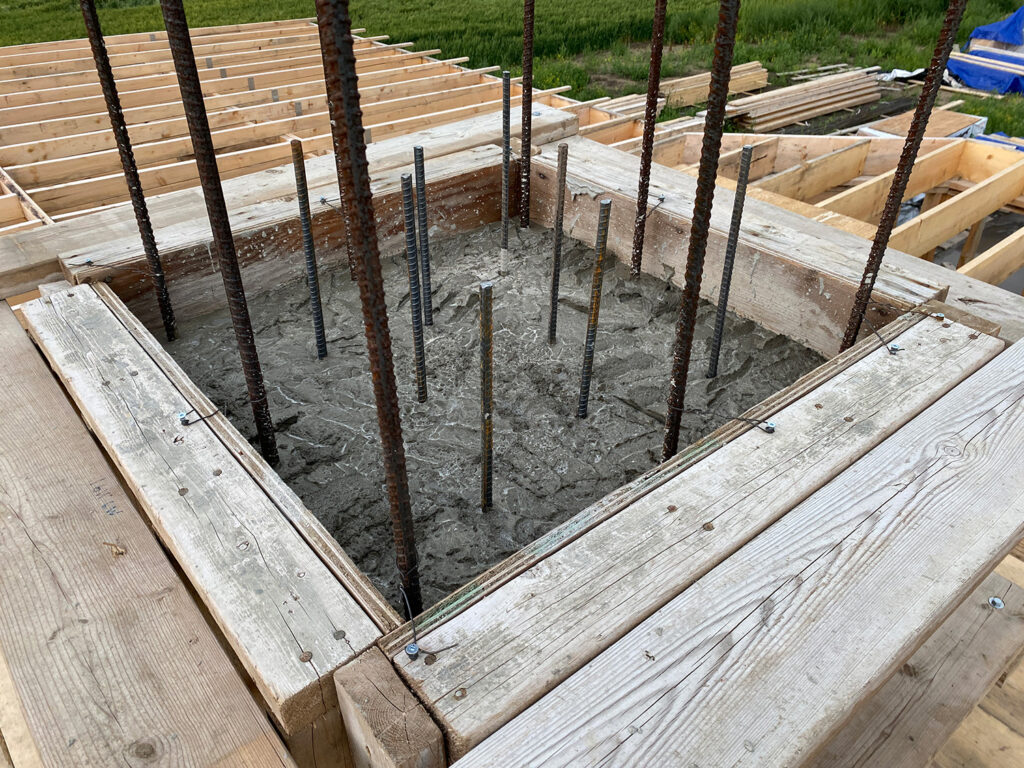
This shows the reinforced telescope pier forms. I have 2x6s bolted around the perimeter of the forms, with more towards the bottom where the highest pressure is. And I also have ratchet straps around the forms, as a backup in case any of the 2x6s were to fail (they are under a lot of strain when 10 feet of concrete above them is trying to expand them outward).
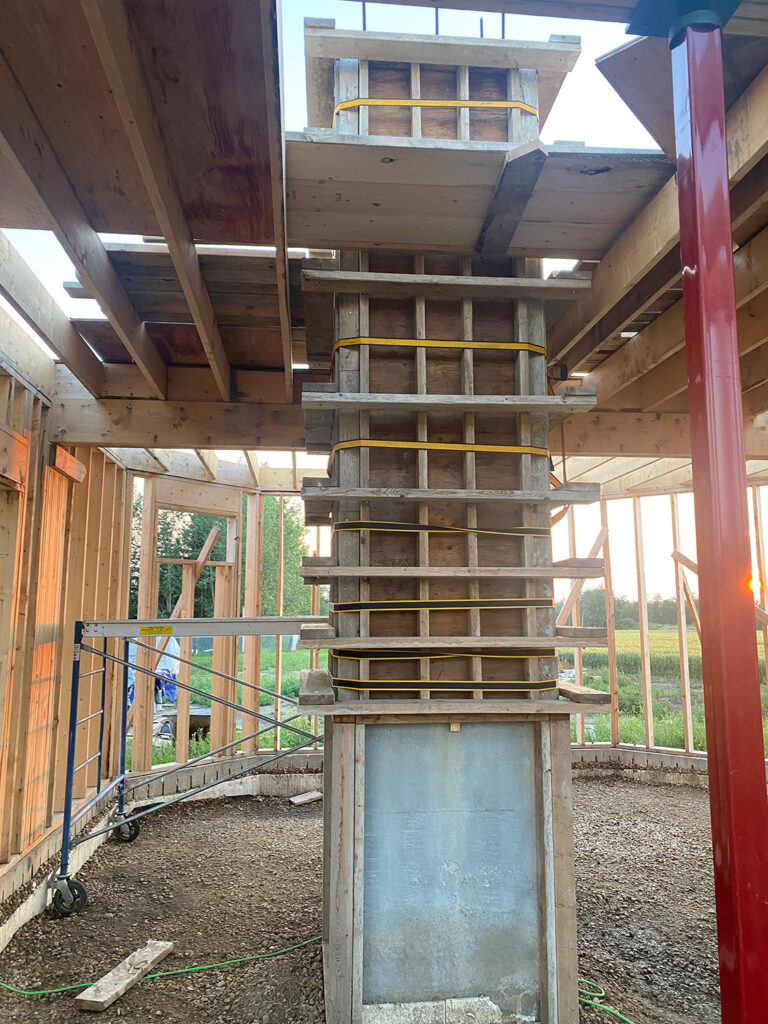
The cement pour went well, though we were too busy getting it poured to take pictures while it was happening. We only really needed cement for the 10 foot section of the telescope pier, but the amount was a bit less than the cement company’s 3 cubic metre minimum to avoid a small load fee, so we ordered 3.5 cubic meters, and just poured the rest on the base of gravel that we will eventually put a cement pad on. We will have to haul in a lot more gravel – the base settled at least a foot in most places (and more in some) with all the rain we had this summer, so more fill doesn’t hurt anything. And the settling is better to happen now than later when the pad is eventually poured.
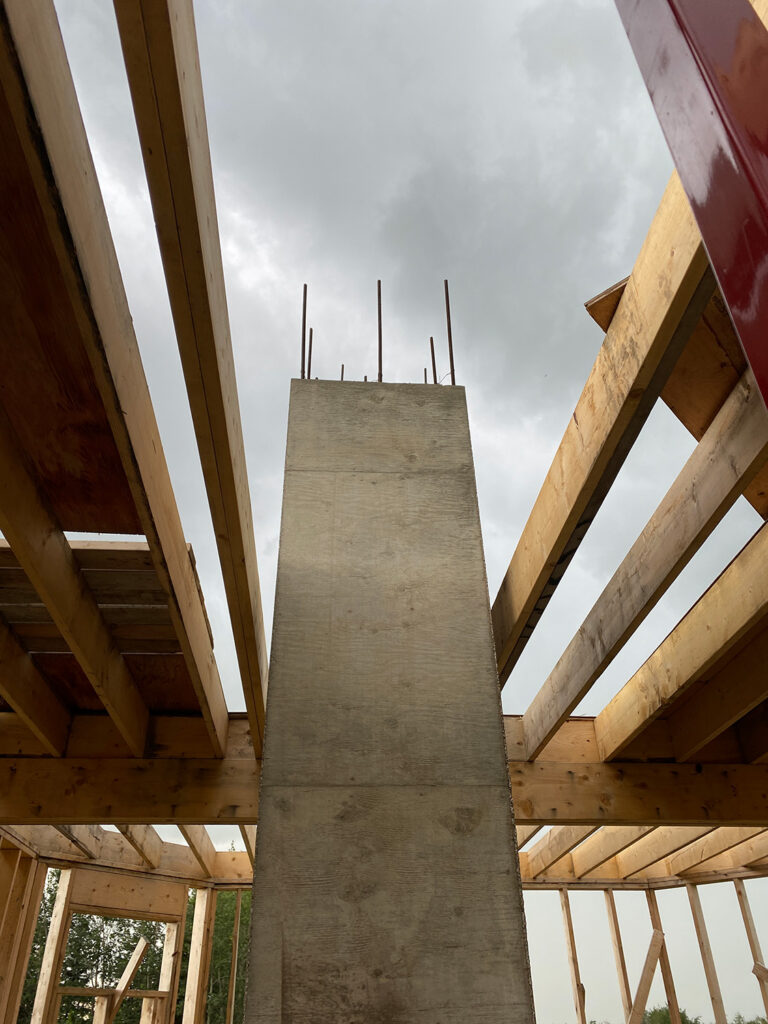
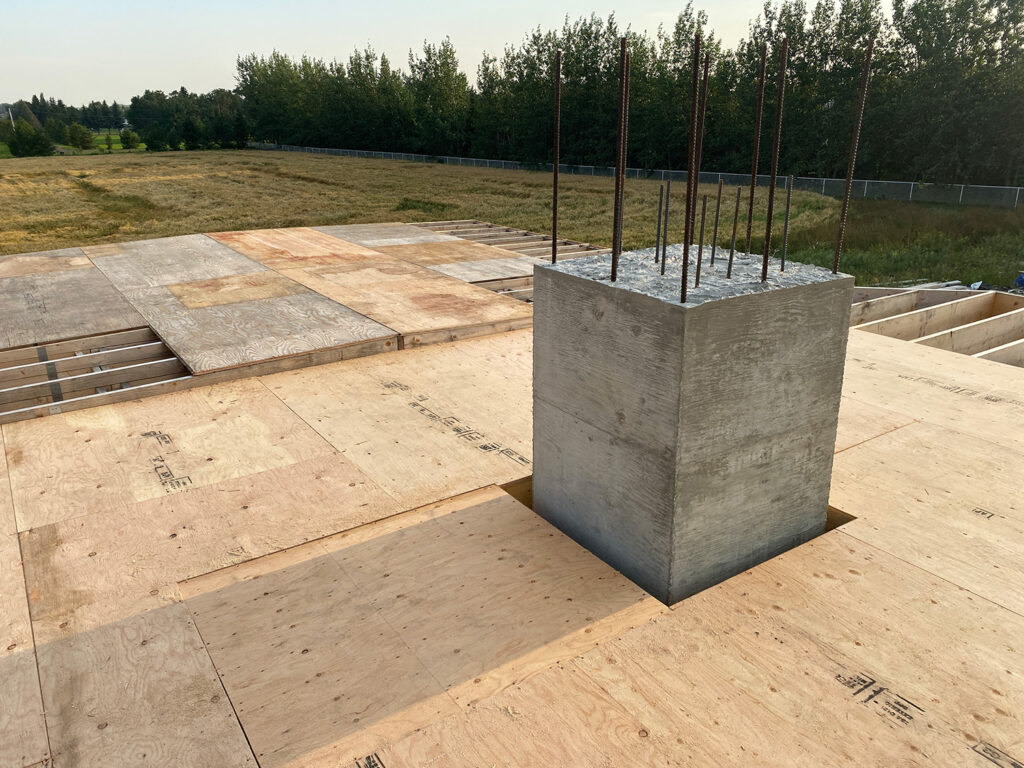
This shows the top of the column, with rebar sticking up to help connect it to the next pour that will eventually bring it up to its final height.
The pier with the forms removed
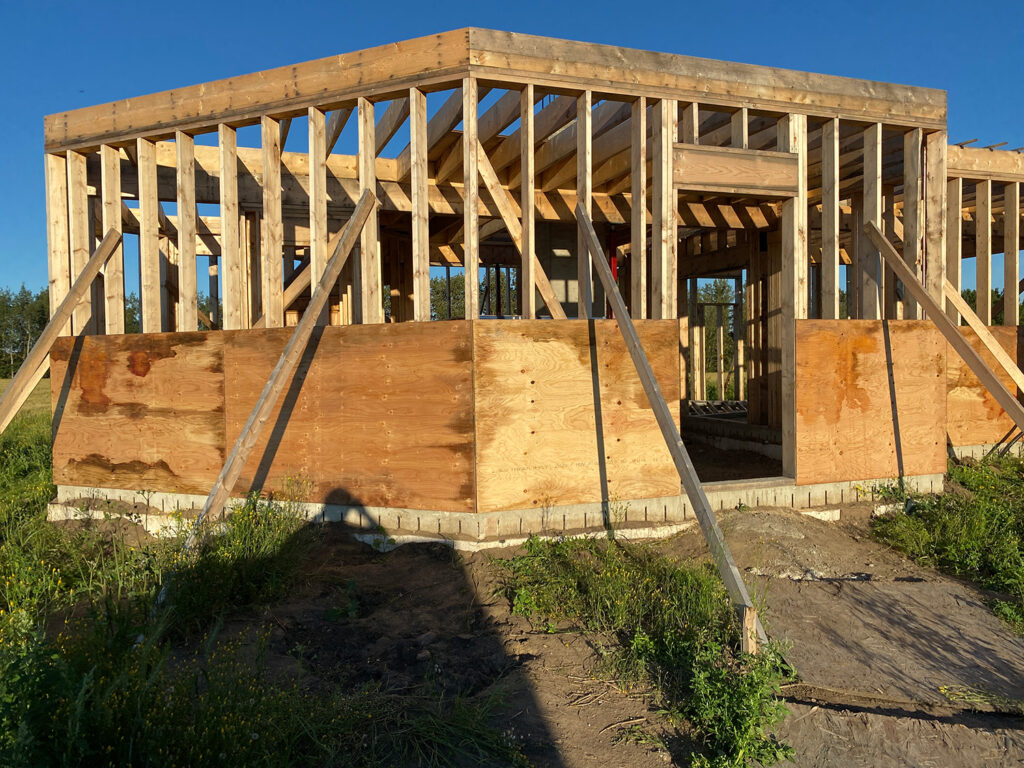
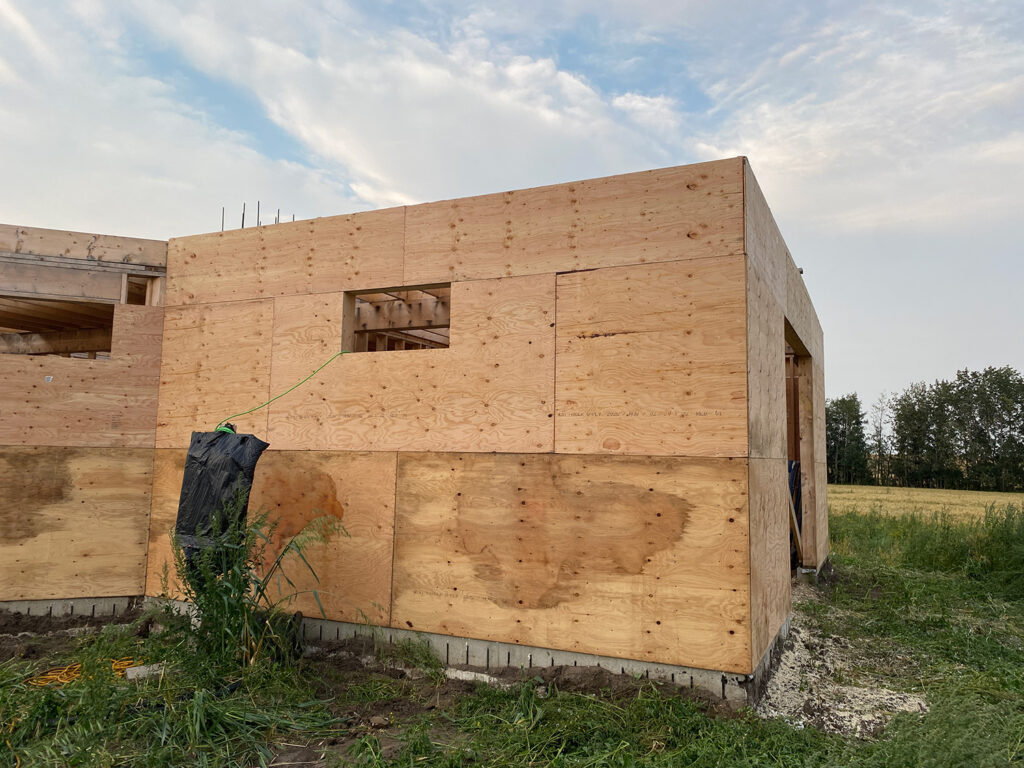
Next, we moved the joists closer to the pier, added the cross joists, and then started nailing the 1/2″ plywood around on the exterior walls.
We could now start putting down the floor of the second story / roof of the first story. The rectangular area could be completed right to the edge as the wedges to give it the appropriate slope were already in place. But for the octagonal area, we had to first establish a base floor that would be used for the inset octagonal area of the second floor. Then, we could cut out the octagonal floor for the second floor, put in the wedges to create the slope for the balcony, and then put the rest of the plywood up to finish the roof of the first floor. This is the floor/roof, under construction.
Here is an overview with the octagonal floor area of the second story cut out. Any resemblance to the Starship Enterprise is completely coincidental, though it’s pretty cool that it worked out that way, even if only temporarily.
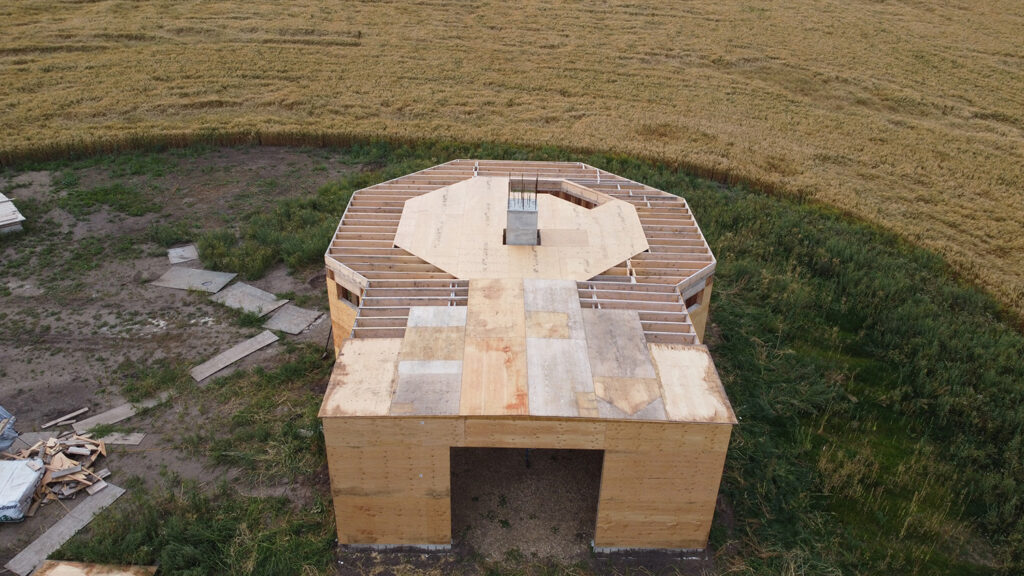
And finally, the wedges were put up around the balcony area so the roof of the first story could be completed. We’ve also put up the Tyvec and a 2×6 fascia around the perimeter.
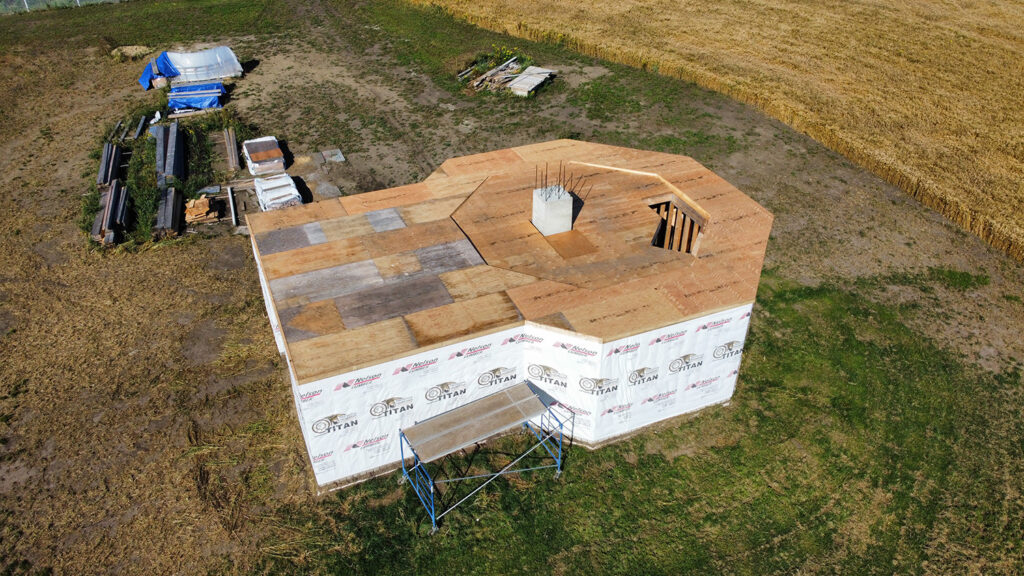
With the Tyvec up, I could also move the electrical service and fibre optical link inside the building. The days of having to use the temporary power service outside were over.