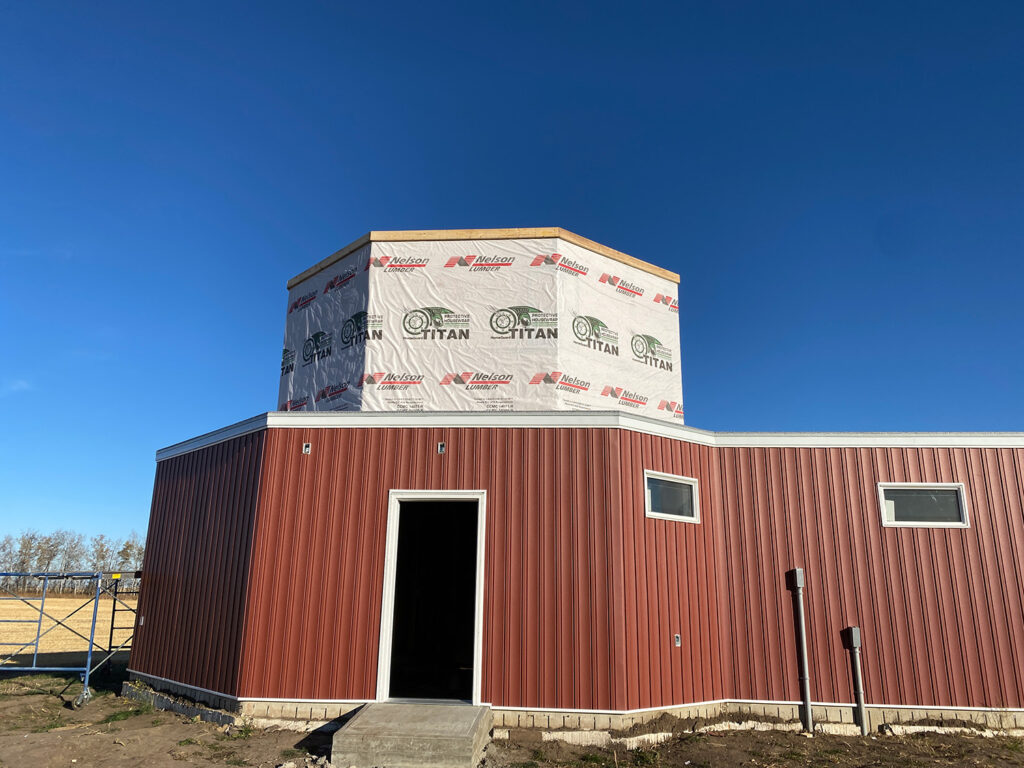
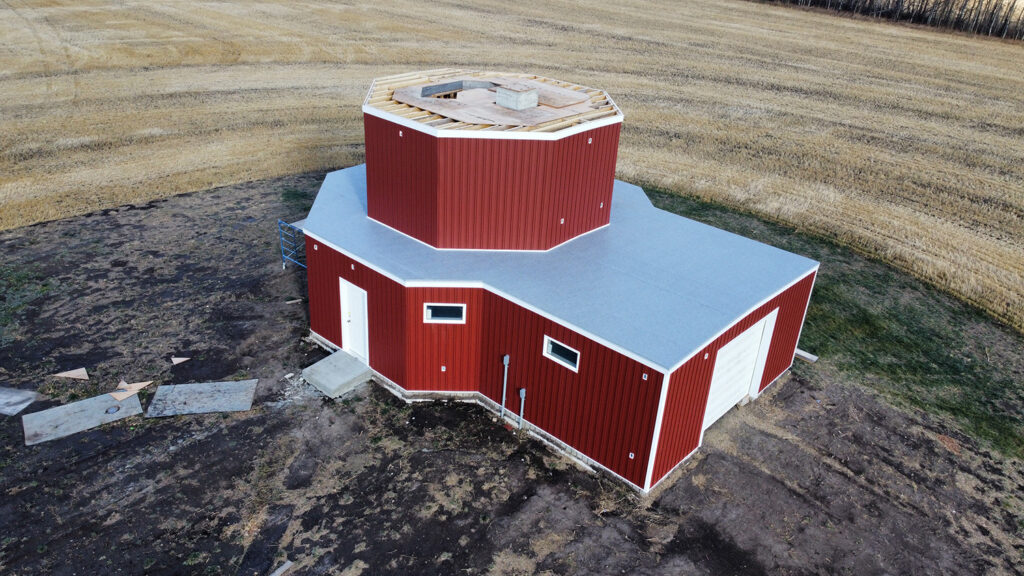
Time to start on the second floor! Here is the first section of wall lifted into place.
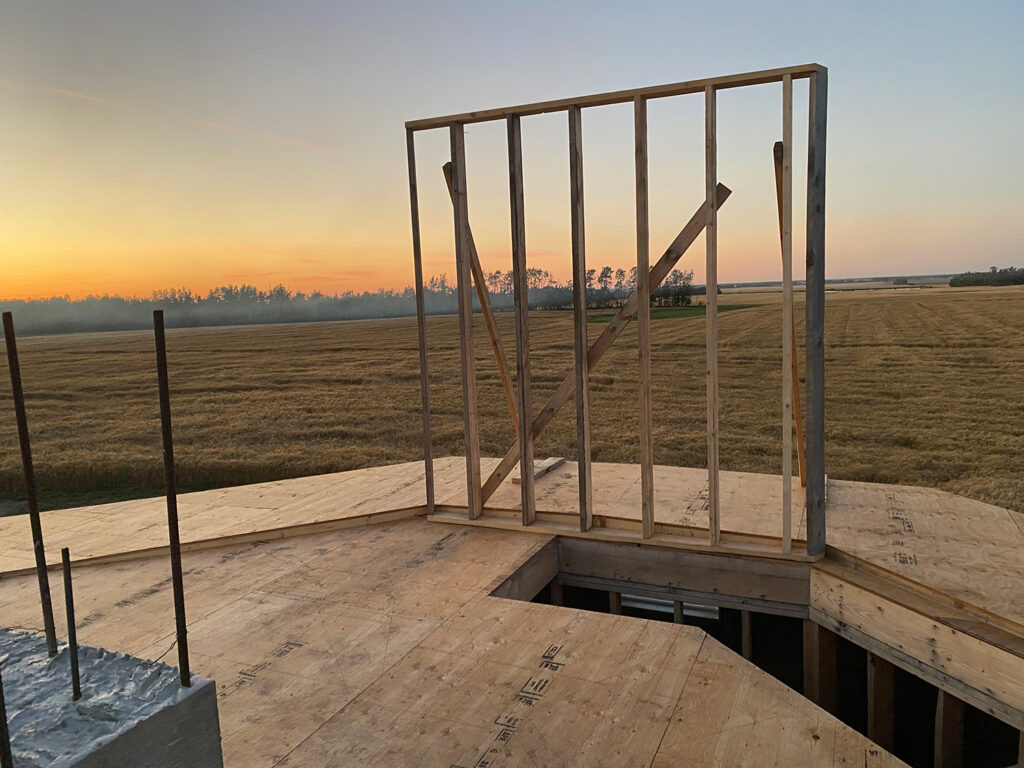
Progress being made on the second floor walls
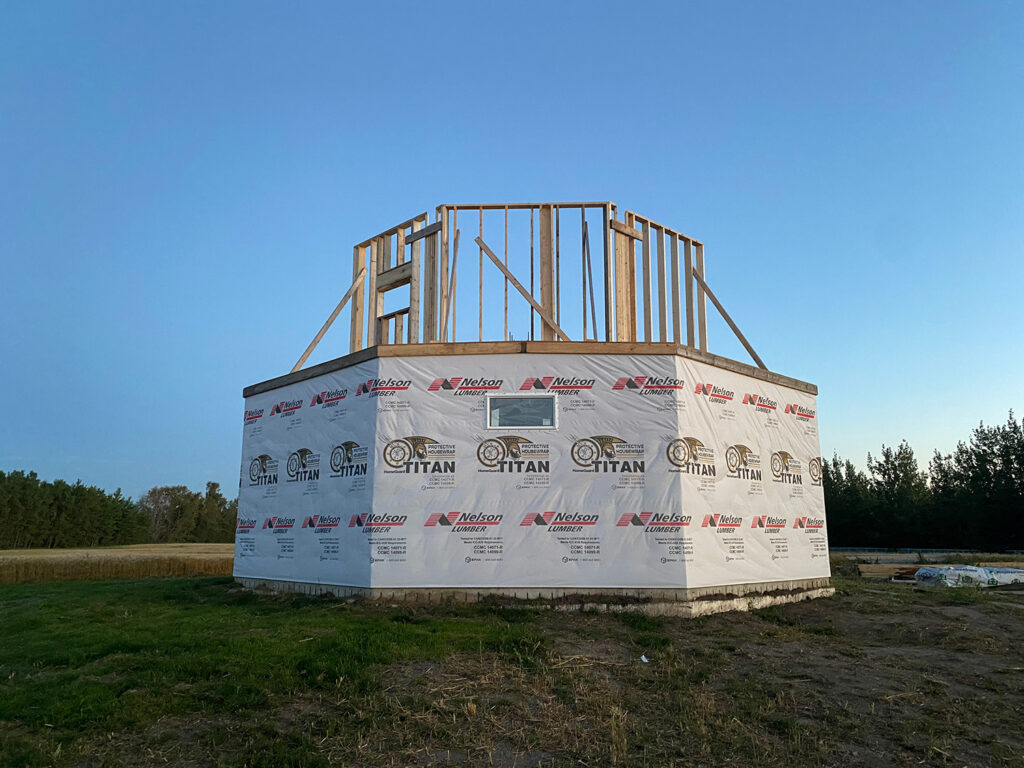
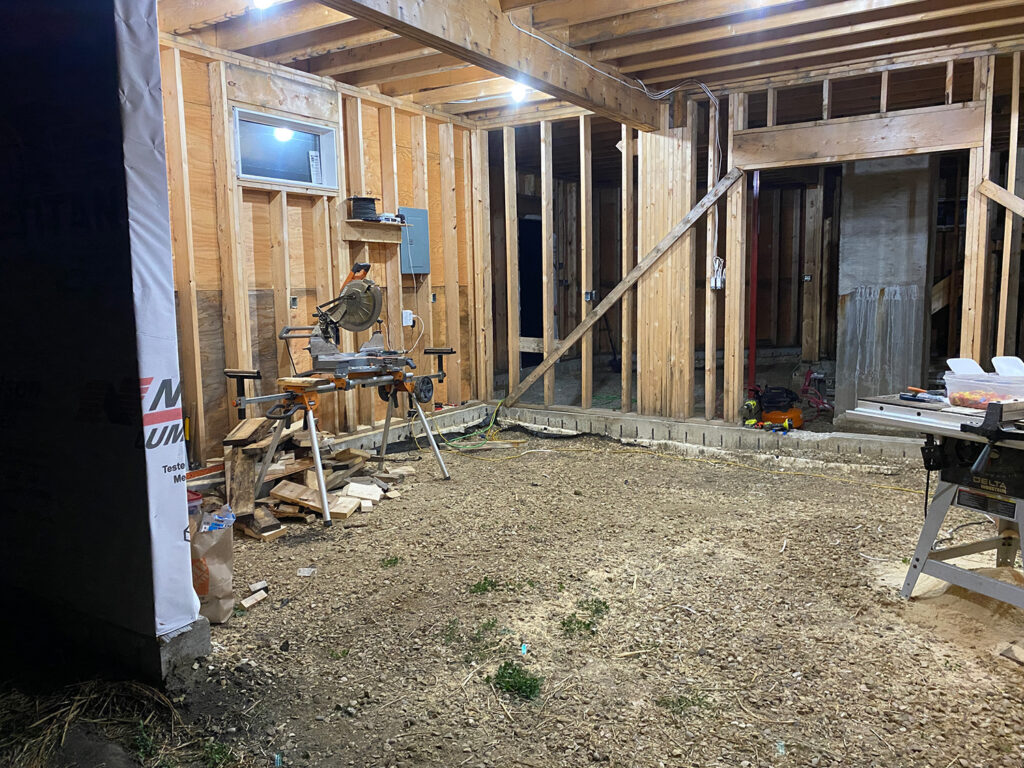
With the days getting shorter, we moved the saws into the rectangular area of the first floor and I wired up the lighting in the area so that work in the evenings could be extended a bit.
The walls of the second floor were finished, and work started on putting the beams into place.
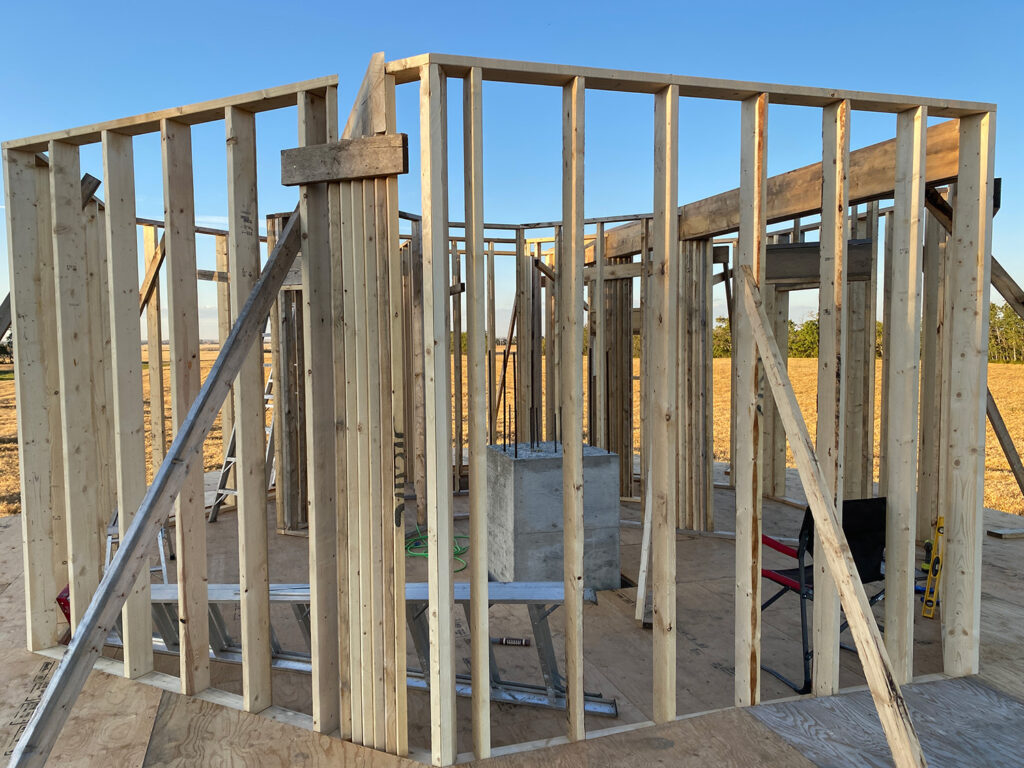
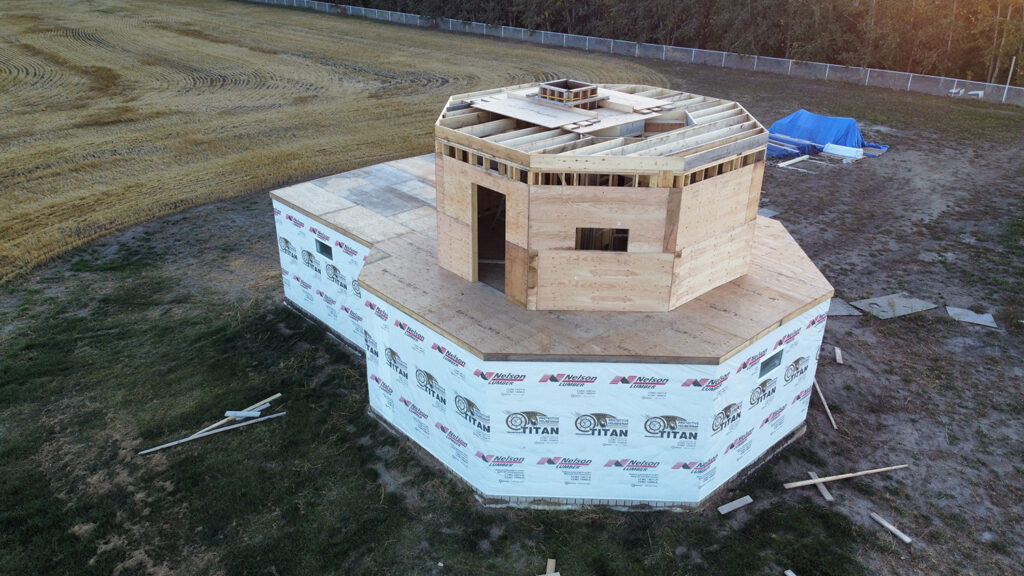
The beams were finished, and the top plate put in place around the walls
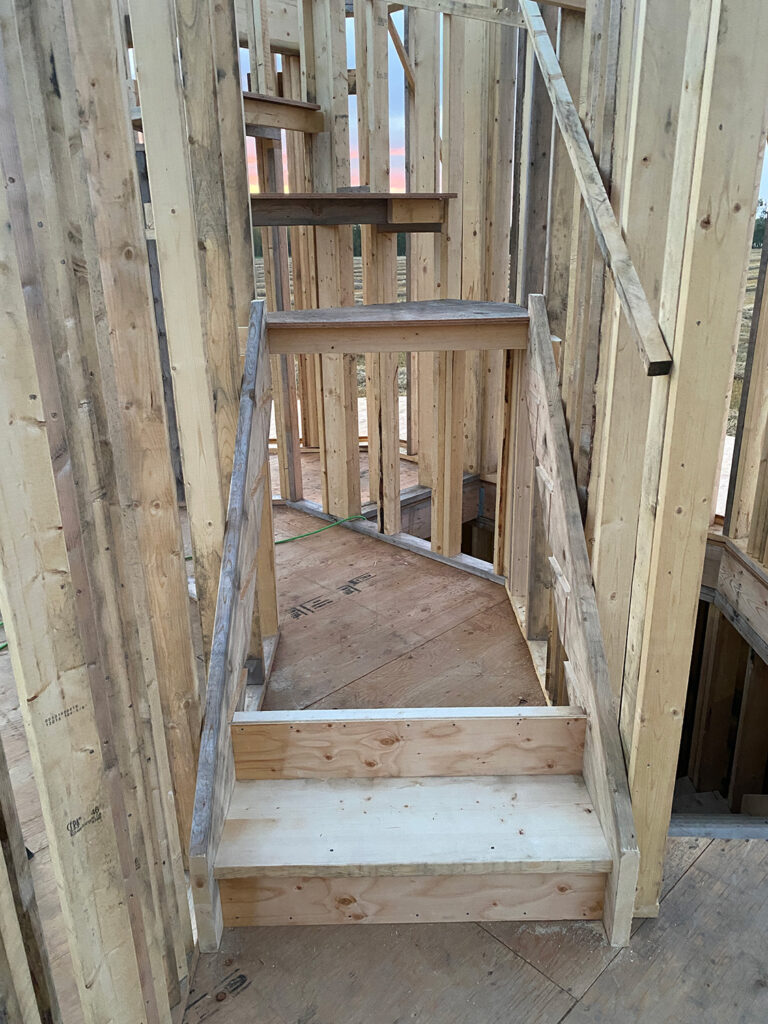
The stairs to the third level (where the telescope will be housed under the dome) are similar to those below. But with a tighter radius, there is a bigger section in the middle of tapered steps.
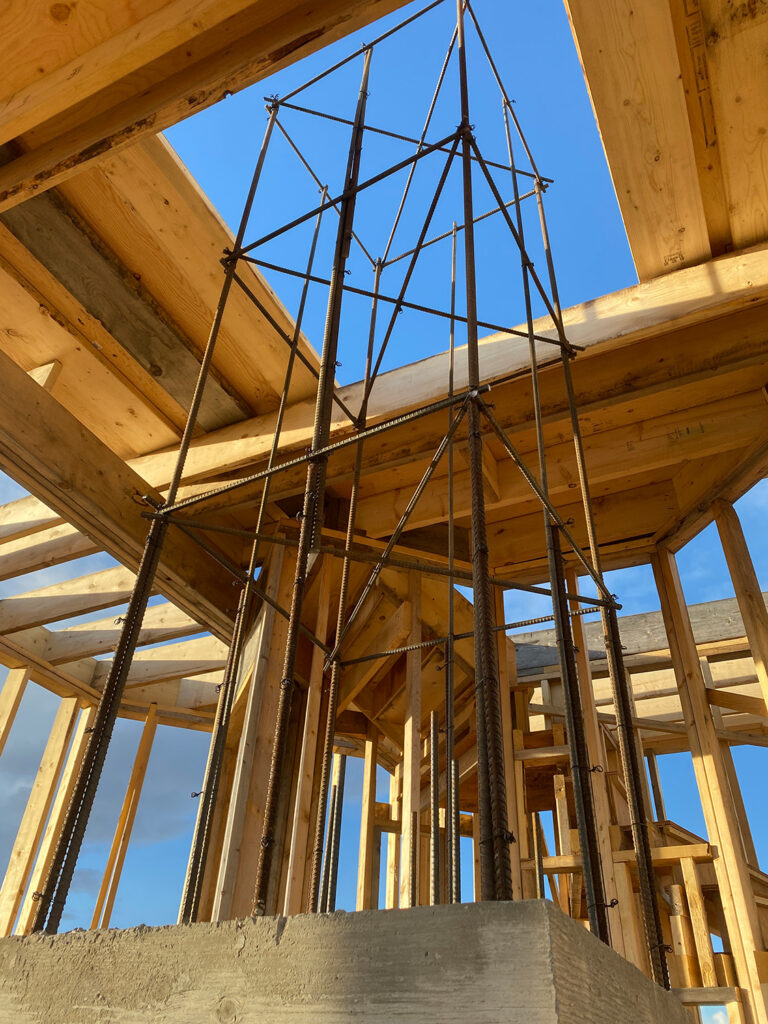
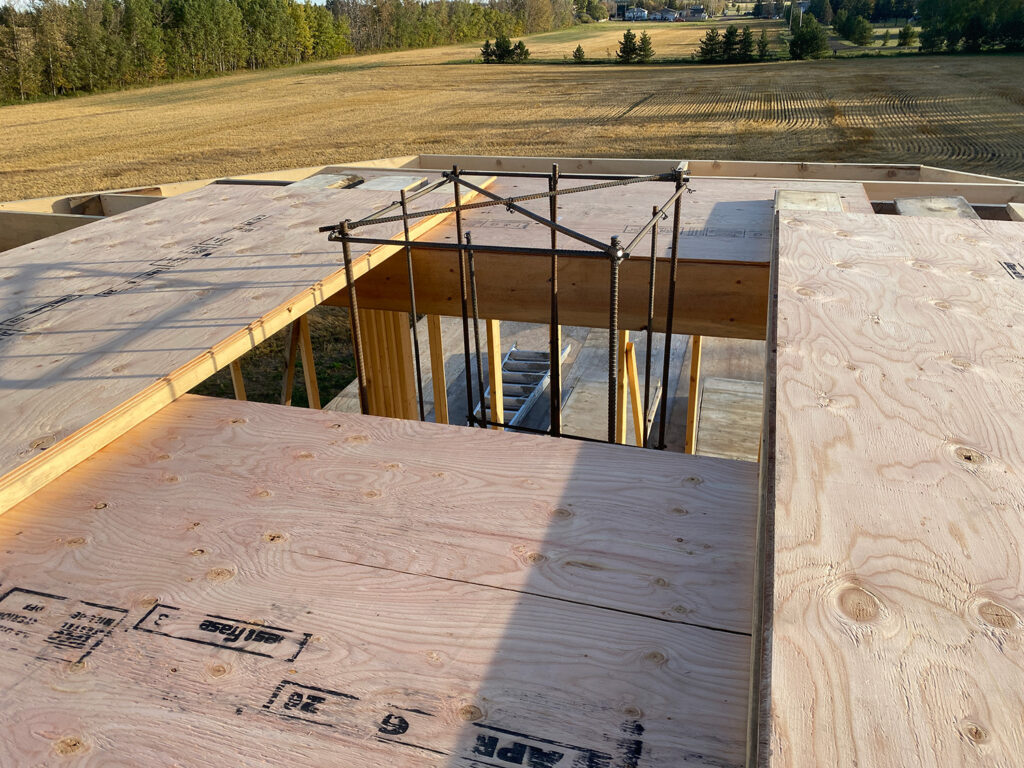
The next step to get done before it gets cold is to finish off the telescope pier with the final pour of cement. The entire pier is about 30 feet tall in total, plus 5 ten foot piles drilled at an angle below it. About 21 feet is exposed above ground level. Here is the rebar in place for the final lift, right before we put the forms up again. As with the floor below, we’ve brought joists near the place where the pier forms will be, but can’t bring them closer until the pour is complete and the forms are removed.
We’ve also built a temporary floor again so we can work up there to do the actual cement pour.
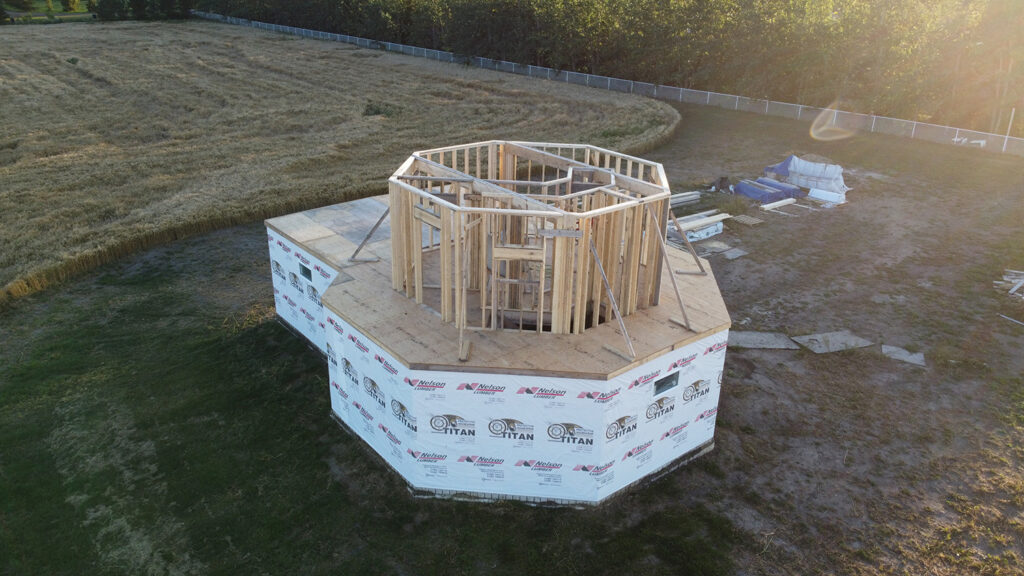
Here is an overview of the site before we do the final cement pour of the telescope pier
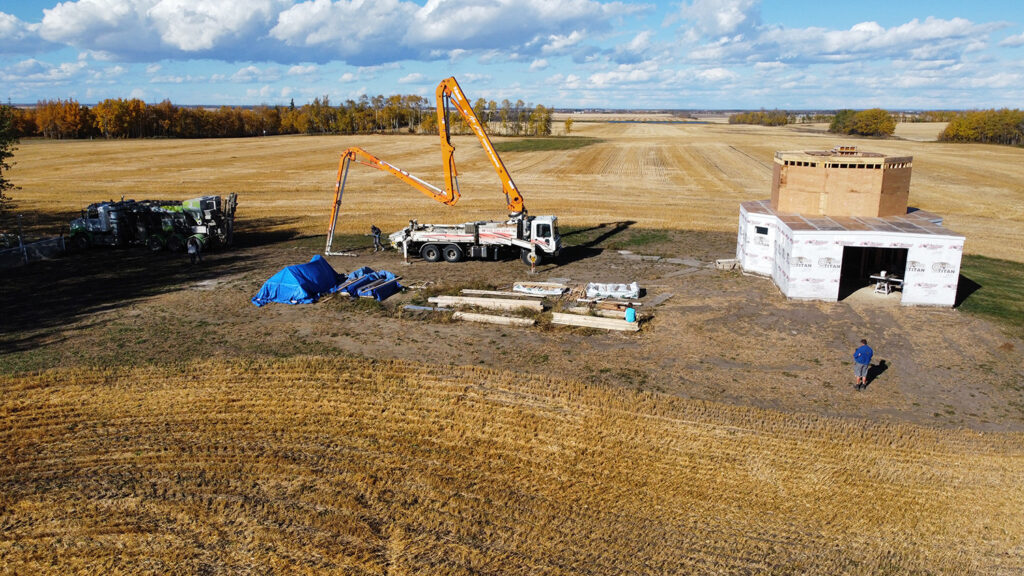
We got the cement from Rock Solid Concrete out of Westlock, and a pump truck from An-Mar Concrete Pumping.
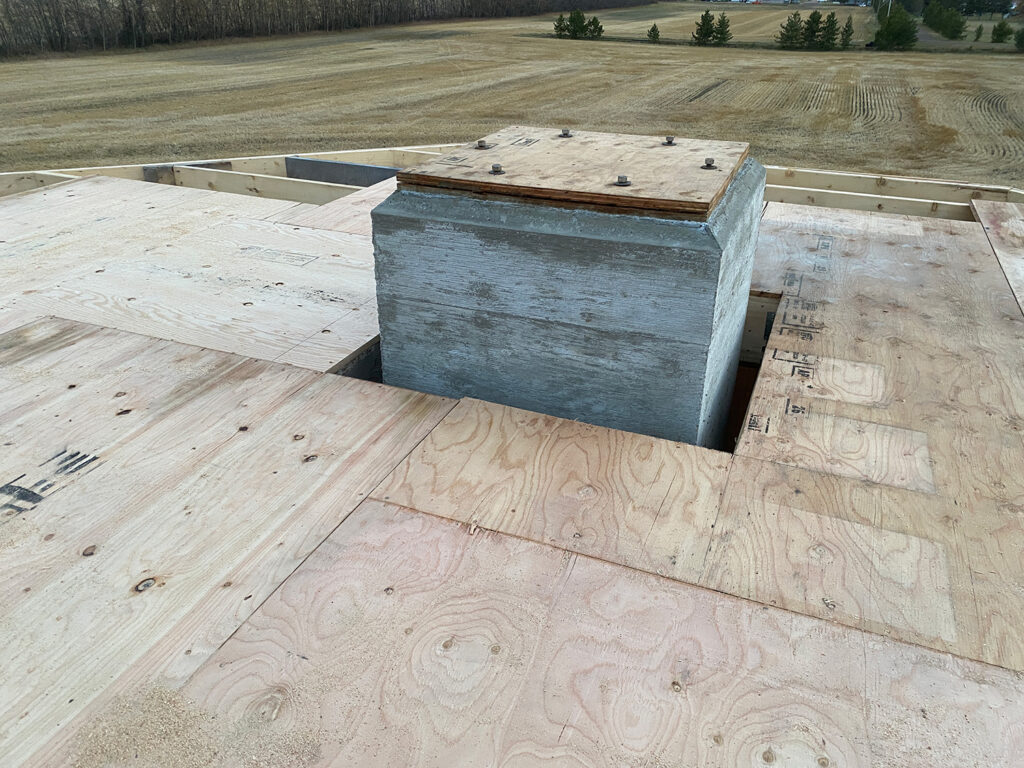
The top of concrete telescope pier, after the forms have been removed, the joists brought closer to the pier, and part of the floor for the second storey in place. The plywood on top of the pier is a template I used to position the bolts in the concrete precisely. They will join to a 1″ thick steel plate that the wedge for the telescope attaches to, so it’s important that those bolts are embedded in the cement as accurately as possible. The plywood is just temporary – it will be removed before the steel plate is installed directly to the surface of the concrete.
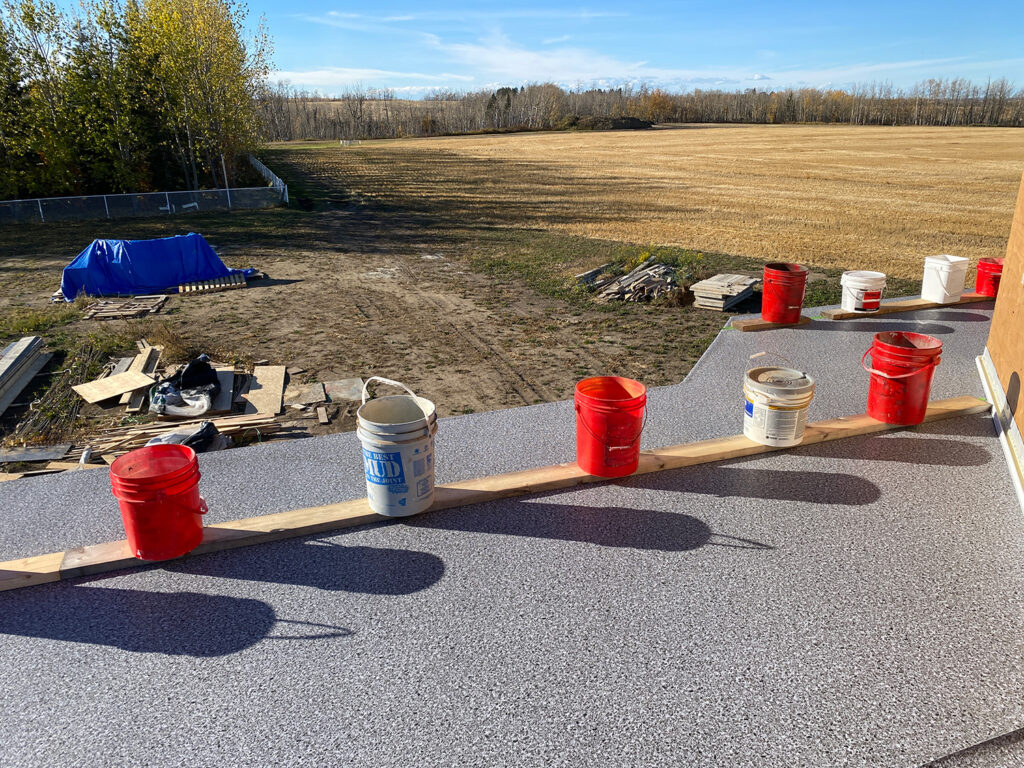
We chose to install Econodek vinyl flooring for the roof/outdoor balcony areas. It glues to the plywood with adhesive, and then the seams are sealed together with a different adhesive. Here, we are weighting down some of the seams that are being sealed.
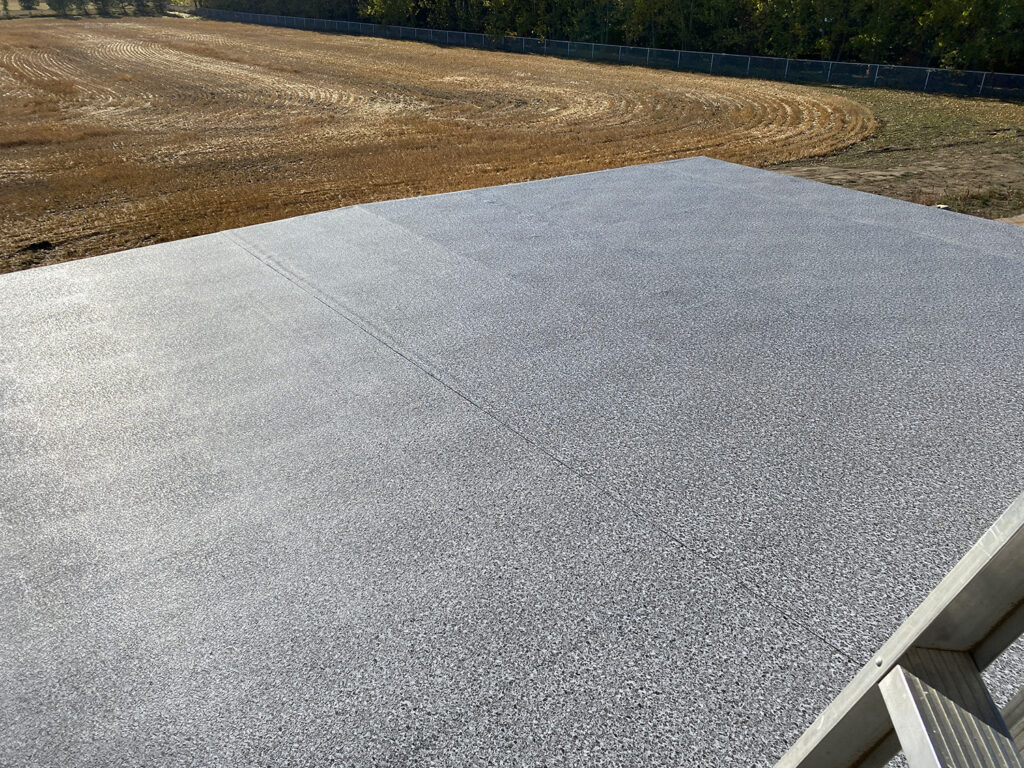
This is a view of the deck above the rectangular area, where the flooring has been completely installed.
A wonderful friend of ours, Mike Gagné, used to install metal fascia and siding. He came out of retirement to help us with this project, and is doing an incredible job!